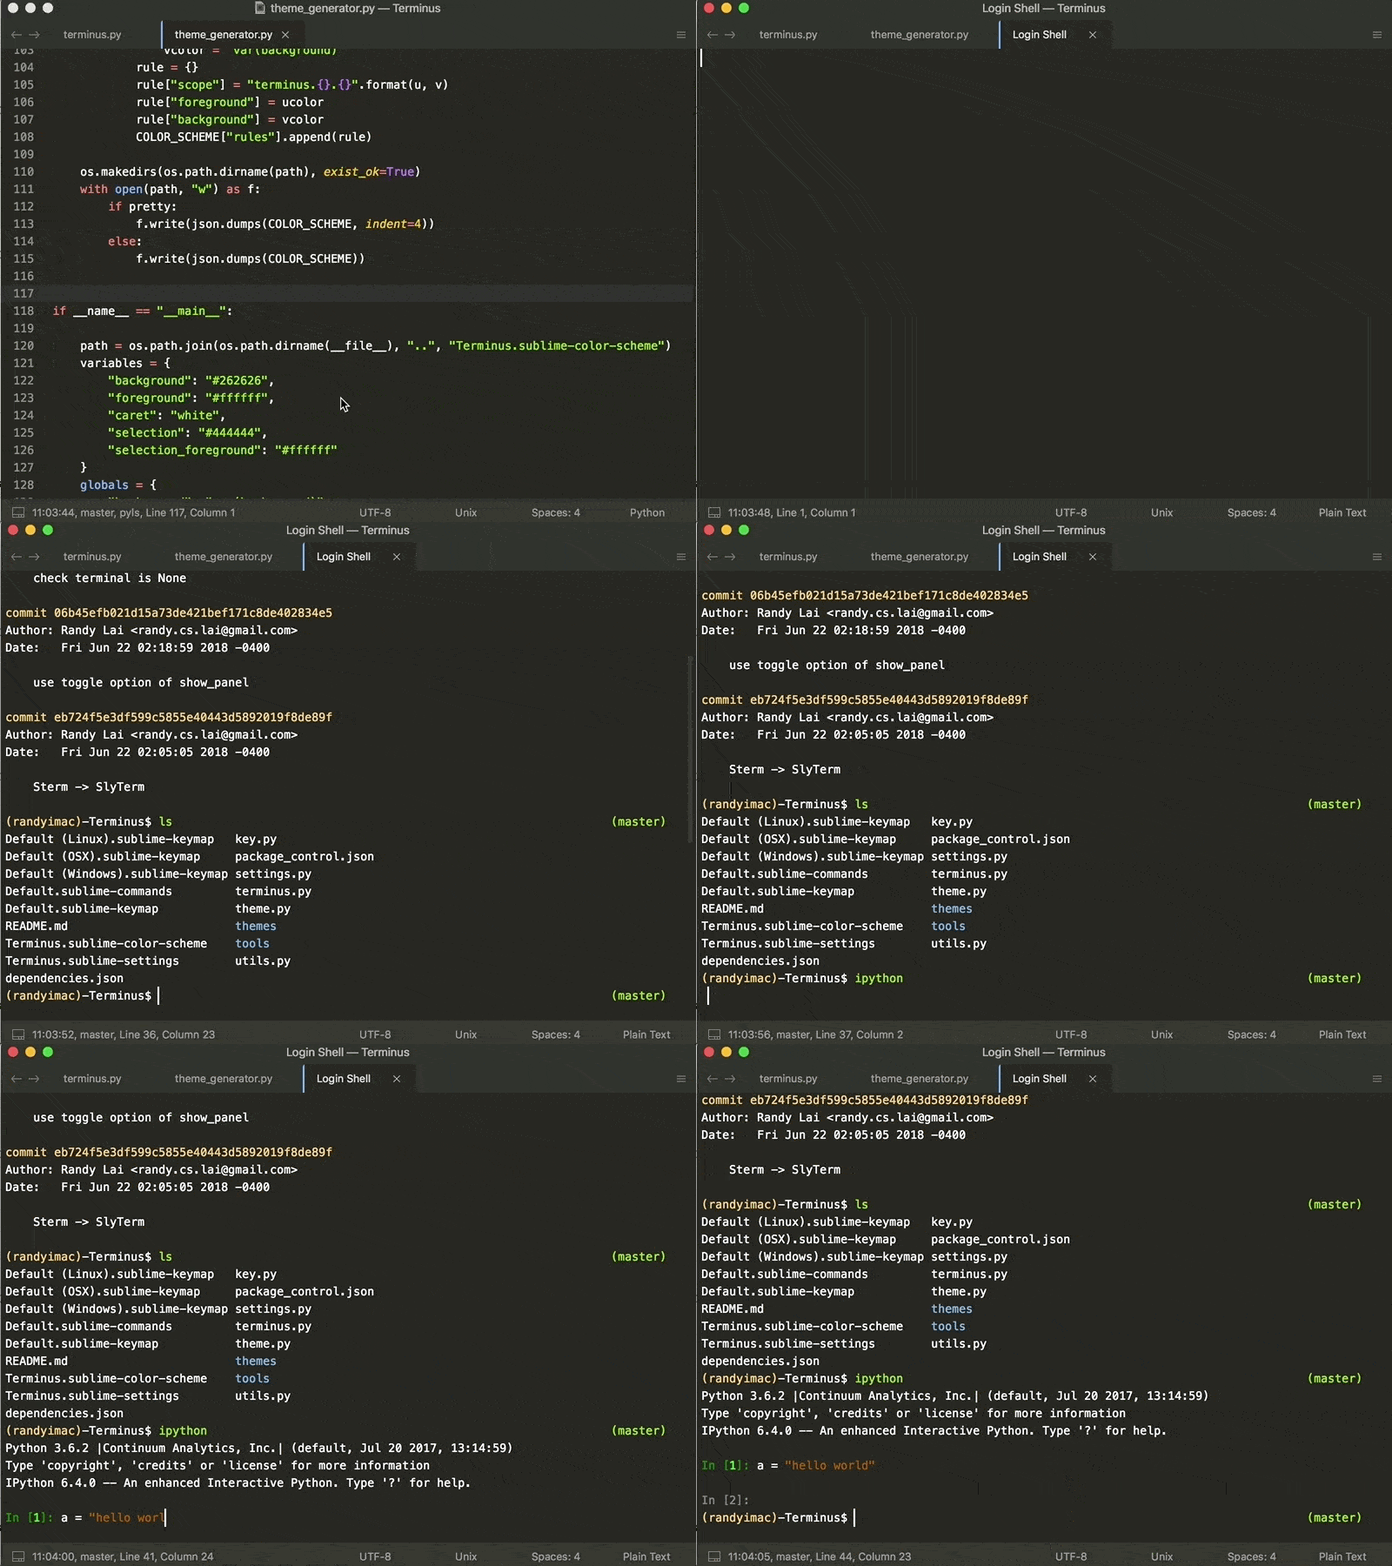
Sublime Text is primarily a text editor and does not have a built-in terminal like some other integrated development environments (IDEs) do. However, you can use the terminal from within Sublime Text by installing a package called Terminal and Terminus.
To use the terminal in Sublime Text using Terminal package, follow these steps:
Install Package Control (if you haven't already):
- Open Sublime Text.
- Press
Ctrl +(backtick) to open the Sublime Text console. - Copy and paste the installation code for Package Control from the official website: https://packagecontrol.io/installation
- Press
Enterto execute the code. - Wait for Package Control to install.
Install the "Terminal" package:
- Press
Ctrl + Shift + P(Windows/Linux) orCmd + Shift + P(Mac) to open the command palette. - Type "Package Control: Install Package" and select it from the command palette.
- In the package list, type "Terminal" and select the "Terminal" package to install it.
- Press
Open the terminal:
- Press
Ctrl + Shift + T(Windows/Linux) orCmd + Shift + T(Mac) to open the terminal. - The terminal will open at the bottom of the Sublime Text window.
- Press
Customize the terminal settings (optional):
- Press
Ctrl + ,(comma) to open the Sublime Text preferences. - In the settings file, you can customize various aspects of the terminal, such as the shell, color schemes, and keybindings.
- Press
Use the terminal:
- You can now use the terminal within Sublime Text. You can navigate to different directories, run commands, compile code, etc.
- To execute a command, click on the terminal and start typing.
- Press
Enterto execute the command. - You can also use the arrow keys to navigate through the command history.
Note: The Terminal package relies on the operating system's terminal application, so you need to have a terminal application installed on your computer for this to work.
By following these steps, you can integrate a terminal-like functionality into Sublime Text and use it for various development tasks.
Certainly! Terminus is another popular package for integrating a terminal within Sublime Text.
Here are the steps to use the Terminus package:
Install Package Control (if you haven't already):
- Open Sublime Text.
- Press
Ctrl +(backtick) to open the Sublime Text console. - Copy and paste the installation code for Package Control from the official website: https://packagecontrol.io/installation
- Press
Enterto execute the code. - Wait for Package Control to install.
Install the "Terminus" package:
- Press
Ctrl + Shift + P(Windows/Linux) orCmd + Shift + P(Mac) to open the command palette. - Type "Package Control: Install Package" and select it from the command palette.
- In the package list, type "Terminus" and select the "Terminus" package to install it.
- Press
Open the Terminus terminal:
- Press
Ctrl + Shift + P(Windows/Linux) orCmd + Shift + P(Mac) to open the command palette. - Type "Terminus: Open Default Shell in View" and select it from the command palette.
- The Terminus terminal will open at the bottom of the Sublime Text window.
- Press
Customize the Terminus settings (optional):
- Press
Ctrl + ,(comma) to open the Sublime Text preferences. - In the settings file, you can customize various aspects of Terminus, such as the shell, color schemes, keybindings, etc.
- Press
Use the Terminus terminal:
- You can now use the Terminus terminal within Sublime Text.
- To execute a command, click on the terminal and start typing.
- Press
Enterto execute the command. - You can use the arrow keys to navigate through the command history.
Terminus provides many additional features, such as split terminals, custom keybindings, and multiple shells. You can refer to the Terminus documentation for more information on advanced usage and customization options.
Using the Terminus package, you can work with a terminal directly within Sublime Text, enhancing your productivity and workflow.

Comments
Post a Comment